# Hawk Host Hosting: A Complete Guide to WordPress Installation and Website Setup
Launching a successful website starts with a solid foundation. This in-depth guide will walk you through every step of setting up your Hawk Host account and installing WordPress, from connecting your domain to securing your site with SSL. Whether you’re a seasoned web developer or a complete beginner, this tutorial offers a clear and concise pathway to online success. Let’s dive in!
## Connecting Your Domain: The Cornerstone of Your Online Presence
Before your website can take flight, your domain name needs to be correctly pointed to your Hawk Host server. This crucial step links your website’s address (e.g., example.com) to your hosting space, making it accessible to the world. Sounds complicated? It’s surprisingly straightforward!
First, locate your Hawk Host server’s IP address. This is usually found within your Hawk Host control panel. Next, log into your domain registrar’s control panel (where you purchased your domain name). Here, you’ll adjust your domain’s DNS settings to point to your Hawk Host IP address. This typically involves modifying nameservers or A records – the precise method depends on your registrar’s interface.
Need a helping hand? Most registrars offer detailed tutorials and support documentation. Consult their help section or support forums for step-by-step instructions. Remember, DNS propagation takes time; it can sometimes take up to 48 hours for the changes to fully take effect. Patience is key! Once the propagation is complete, your domain will be successfully connected to your Hawk Host account. Are you ready to move to the next stage?
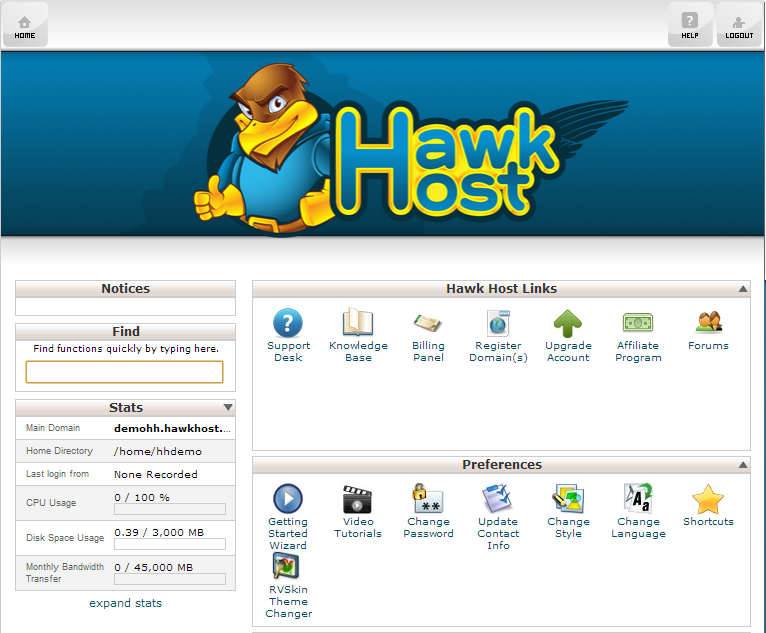
## Mastering cPanel: Your Website’s Command Center
With your domain successfully linked, it’s time to explore the power of cPanel – your central hub for managing your Hawk Host account. Login to your Hawk Host account; you’ll find a link or button leading you to cPanel. Its location might vary slightly depending on Hawk Host’s interface updates, but it’s usually readily accessible from your account overview.
Think of cPanel as the control tower for your website. It provides granular control over your hosting environment, empowering you to manage files, databases, email accounts, security settings, and much more! Become familiar with its key sections: File Manager (for uploading and managing website files), Databases (for creating and managing MySQL databases), Email Accounts (for setting up email addresses), and Security (for bolstering your website’s defenses). Mastering cPanel is essential for efficient website management. Don’t underestimate its capabilities!
### Adding Addon Domains: Expanding Your Hosting Horizons
Do you need to host multiple websites under your single Hawk Host account? It’s remarkably simple! Add them as Addon Domains within cPanel. Find the “Addon Domains” section (usually under the “Domains” tab). Enter the new domain name you wish to add. cPanel often auto-populates fields such as the document root directory. Always double-check the information before clicking “Add Domain.” That’s it! You’ve just added another website to your account. Repeat this process for as many domains as your hosting plan allows. Managing multiple projects from a single dashboard is incredibly convenient! Isn’t that impressive?
## Securing Your Website with SSL: Protecting Your Visitors’ Data
Website security is non-negotiable! Hawk Host typically utilizes Let’s Encrypt, a free and automated SSL certificate provider. To enable SSL, locate the “SSL/TLS Status” section in your cPanel. You’ll likely find an option for AutoSSL. This feature automatically generates and installs an SSL certificate for your domain(s), covering both `example.com` and `www.example.com`. Click the button to start the process. It might take a few minutes. Once finished, your browser should display a padlock icon next to your website’s address, indicating a secure connection.
Verify that both your primary and Addon Domains have successfully implemented SSL. This adds a crucial layer of trust and security for your visitors—an absolute necessity in today’s digital landscape! Why risk your visitors’ data?
## Setting Up Your MySQL Database and User: Essential WordPress Prerequisites
Before installing WordPress, you’ll need a MySQL database – this is where WordPress stores your website’s content. In your cPanel, find the “MySQL Databases” section. Begin by creating a new database. Choose a descriptive name, often matching your domain name. Next, create a new MySQL user. Select a robust, unique password (cPanel often provides a password generator). Carefully record this password—you’ll need it for the WordPress installation! Finally, grant the new user all the necessary privileges to access and modify the database. Meticulous permission management is vital for robust database security.
## Installing WordPress: The Final Piece of the Puzzle
It’s time to bring your website to life by installing WordPress! Download the latest version from wordpress.org. Use your cPanel’s File Manager to upload the `wordpress.zip` file to your website’s directory (typically `public_html` for your main domain, or the corresponding folder for Addon Domains). Extract the contents of `wordpress.zip` and move all files and folders from the extracted `wordpress` folder into the parent directory. Remove the now-empty `wordpress` folder.
Access your domain in your browser. The WordPress installer will guide you through the remaining steps, prompting you for the database credentials you created (database name, username, password) and your administrator account details. Congratulations – you’ve successfully installed WordPress!
## Troubleshooting and Seeking Assistance
Encountering problems during setup? Don’t panic! Hawk Host provides comprehensive support documentation and a responsive support team. They offer various support channels, including email, phone, and live chat. Remember, building a website is a process, not a race. Minor setbacks are normal! Take your time, follow each step carefully, and you’ll succeed. A well-structured website is the foundation of online success!
## Conclusion: Embark on Your Web Hosting Journey!
This guide has comprehensively covered setting up your Hawk Host account and installing WordPress. You’ve learned to connect your domain, navigate cPanel, add additional domains, secure your website with SSL, and install WordPress. Armed with this knowledge, you’re ready to effectively manage and maintain your website. Happy hosting, and may your website thrive!